昨天我获得了 Vultr.com 300 美金的试用金,限期 1 个月。
这两天一直在琢磨如何把这 300 美金霍霍完,免得过期浪费。于是把之前一些好玩的东西从家里的服务器迁移到了 Vultr 上,昨天用 Vultr vps 搭建了一个了一个 WEB IDE, 过程记录在这篇文章里Vultr + Code-server 自建 Cloud IDE 。
Vultr 账号申请以及创建VPS过程参考这篇文章 快速注册 Vultr 账号以及创建 Vultr VPS 。
今天用 Vultr vps 结合 wordpress 搭建了一个动态博客网站(当然 wordpress 不只是能搭建博客这么简单), 顺便将之前的文章更新了一遍。以下是搭建的全过程。
明天打算将 kubernetes 集群也搬上 Vultr,关注我的博客,鹏叔将利用这波优惠,继续探索一些新花样。
1. 搭建 wordpress 网站先决条件 一台 VPS 或虚拟机,VPS 获取过程可参考快速注册 Vultr 账号以及创建 Vultr VPS
好处申请后是 80 端口是开放的,免费送两个公网IP, 一个IPv4的,一个IPv6,再也不用做内网穿透了那么麻烦了,搭建完成后做一下 DNS 绑定,网站就是上线了。
操作系统建议安装: AlmaLinux OS 8。
2. 登录到Vultr VPS 1 2 3 ssh linuxuser@ip_address
3. 更新 DNF 存储库缓存 安装 wordpress 之前,更新一下 DNF 缓存
4. 安装要求 安装 WordPress 之前,服务器要求具备两个基本元素:
5. 安装 PHP 和 PHP 扩展 安装 PHP 和其他支持包,请运行以下命令:
1 2 3 sudo dnf install -y php php-curl php-bcmath php-gd php-soap php-zip php-mbstring php-mysqlnd php-xml php-intl
验证 php 是否安装成功, 要验证已安装的 PHP 版本,请运行以下命令:
输出如下:
1 2 3 4 5 6 PHP 8.0.30 (cli) (built: Aug 3 2023 17:13:08) ( NTS gcc x86_64 ) Copyright (c) The PHP Group Zend Engine v4.0.30, Copyright (c) Zend Technologies with Zend OPcache v8.0.30, Copyright (c), by Zend Technologies
6. 配置 php-fpm 由于我们将使用 nginx 作为 web 服务器,而 php-fpm 默认的是 apache 服务器,
所以需要将 php-fpm 的默认用户和组修改为 nginx
修改 run-as 用户为 nginx 与 nginx web server 保持一致避免后面 upload 文件出现权限问题.
sudo vi /etc/php-fpm.d/www.conf
1 2 3 4 5 6 7 8 9 ; Unix user/group of processes ; Note: The user is mandatory. If the group is not set, the default user's group ; will be used. ; RPM: apache user chosen to provide access to the same directories as httpd user = nginx ; RPM: Keep a group allowed to write in log dir. group = nginx
设置开机启动并运行 php-fpm 服务
1 2 3 sudo systemctl enable --now php-fpm
7. 安装 mariaDB 在 AlmaLinux 9 上安装 mariaDB 可以参考在Linux(AlmaLinux 9)上安装MariaDB | 鹏叔的技术博客
安装完成后创建 wordpress 数据库
要登录 MariaDB shell,请运行以下命令。然后系统将提示您输入 MariaDB root 密码:
要创建数据库和数据库用户,请运行以下命令。记得将 DB_password 替换为强大而安全的密码:
1 2 CREATE DATABASE wordpress_db;CREATE USER 'wordpress_user' @'localhost' IDENTIFIED BY 'DB_password' ;
然后,运行以下命令授予并刷新数据库用户所有权限:
1 2 GRANT ALL ON wordpress_db.* TO 'wordpress_user' @'localhost' ;FLUSH PRIVILEGES;
您还可以用您的数据库详细信息替换 wordpress_db 和 wordpress_user 。
要退出 MySQL 命令提示符,请运行以下命令:
输出如下:
1 2 3 4 5 6 7 8 9 10 11 12 13 14 15 16 17 18 19 20 21 22 23 24 ~]# sudo mysql -u root -p Enter password: Welcome to the MariaDB monitor. Commands end with ; or \g. Your MariaDB connection id is 8 Server version: 10.3.35-MariaDB MariaDB Server Copyright (c) 2000, 2018, Oracle, MariaDB Corporation Ab and others. Type 'help;' or '\h' for help . Type '\c' to clear the current input statement. MariaDB [(none)]> CREATE DATABASE wordpress_db; Query OK, 1 row affected (0.000 sec) MariaDB [(none)]> CREATE USER 'wordpress_user' @'localhost' IDENTIFIED BY 'DB_password' ; Query OK, 0 rows affected (0.000 sec) MariaDB [(none)]> GRANT ALL ON wordpress_db.* TO 'wordpress_user' @'localhost' ; Query OK, 0 rows affected (0.000 sec) MariaDB [(none)]> FLUSH PRIVILEGES; Query OK, 0 rows affected (0.000 sec) MariaDB [(none)]> exit Bye
数据库用户名,密码后续要用到。
8. 安装 wordpress 下载 wordpress
1 2 3 4 5 6 wget -O /tmp/wordpress-latest.zip https://wordpress.org/latest.zip wget -O /tmp/wordpress-<version>.zip https://wordpress.org/wordpress-<version>.zip
解压缩
1 2 3 sudo unzip -d /var/www /tmp/wordpress-latest.zip
并将/var/www/wordpress 的 owner 修改为 nginx
1 sudo chown -R nginx:nginx /var/www/wordpress
修改 wordpress 配置文件
1 2 3 4 5 sudo cp /var/www/wordpress/wp-config-sample.php /var/www/wordpress/wp-config.phpsudo vi /var/www/wordpress/wp-config.php
1 2 3 4 5 6 7 8 9 10 11 12 13 14 15 ... define ('DB_NAME' , 'wordpress_db' );define ('DB_USER' , 'wordpress_user' );define ('DB_PASSWORD' , 'DB_password' );... define ('FS_METHOD' , 'direct' );
修改wp-config.php的owner
1 2 3 4 chown nginx:nginx /var/www/wordpress/wp-config.php
将配置文件里面的这一部分删除
1 2 3 4 5 6 7 8 9 10 11 12 define ('AUTH_KEY' , 'put your unique phrase here' );define ('SECURE_AUTH_KEY' , 'put your unique phrase here' );define ('LOGGED_IN_KEY' , 'put your unique phrase here' );define ('NONCE_KEY' , 'put your unique phrase here' );define ('AUTH_SALT' , 'put your unique phrase here' );define ('SECURE_AUTH_SALT' , 'put your unique phrase here' );define ('LOGGED_IN_SALT' , 'put your unique phrase here' );define ('NONCE_SALT' , 'put your unique phrase here' );
9. 安装 nginx 安装 nginx 可以参考我的博客Almalinux 9 nginx 安装教程
10. 配置 nginx 修改 /etc/nginx/conf.d/wordpress.conf, 新建一个 server 或在已有 server 基础上修改如下
1 2 3 sudo vi /etc/nginx/conf.d/wordpress.conf
1 2 3 4 5 6 7 8 9 10 11 12 13 14 15 16 17 18 19 20 21 22 23 24 25 26 27 28 29 30 31 32 33 34 35 36 37 38 server { listen 80; server_name localhost; root /var/www/wordpress; index index.html index.htm index.php; location / { try_files $uri $uri/ /index.html /index.php?q=$uri&$args; } location ~ \.php?.*$ { include fastcgi_params; fastcgi_pass unix:/run/php-fpm/www.sock; fastcgi_index index.php; fastcgi_param SCRIPT_FILENAME $document_root$fastcgi_script_name; include fastcgi_params; } location = /favicon.ico { log_not_found off; access_log off; } location = /robots.txt { allow all; log_not_found off; access_log off; } location ~* \.(js|css|png|jpg|jpeg|gif|ico)$ { expires max; log_not_found off; } }
nginx 与 php 的协作机制以及 nginx 参数的详细讲解, 请参考Nginx 和 PHP 的配置
使配置生效:
1 2 3 4 5 6 7 nginx -s reload systemctl restart nginx
如果一切顺利的话, 重启后即可打开浏览器访问 wordpress 网站了
如果出现问题, 可以查看 nginx 的访问日志和错误日志以及 php-fpm 的相关日志
nginx 的日志位于 /var/log/nginx
php-fpm 的日志位于/var/log/php-fpm
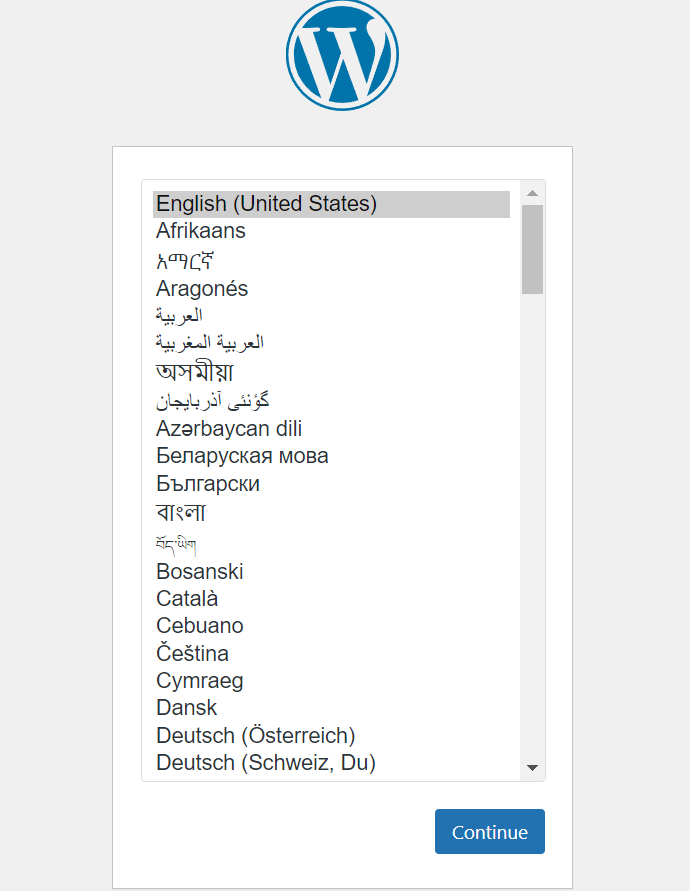
11. WordPress 安装向导 最后,打开 Web 浏览器并输入安装 WordPress 的服务器的域名,例如http://your-server-ip-address 或http://your-domain.com 。
输入您创建的数据库详细信息。然后单击“提交”按钮。
然后选择一个主题,安装一些插件,就可以慢慢将自己的博客搭建起来了。
问题排查 issue 1 安装插件的时候报错
1 2 3 Installation failed: Could not create directory. /var/www/wordpress/wp-content/upgrade
参考文档:file-permissions
12. 相关文章 更多 linux 相关知识, 请参考鹏叔的技术博客 - linux , 获取实时更新的博客文章.
13. 参考文档 Centos7 上安装 wordpress
How to Install WordPress on Linux (AlmaLinux)
BuddyPress 安装指南
建站教程(三):在 Ubuntu 上配置 Nginx+MySQL+PHP7
如何在 CentOS 7 上安装使用 Nginx 的 WordPress
Nginx 和 PHP 的配置
CentOS7 安装和配置 ftp 服务,ftp 命令详解
